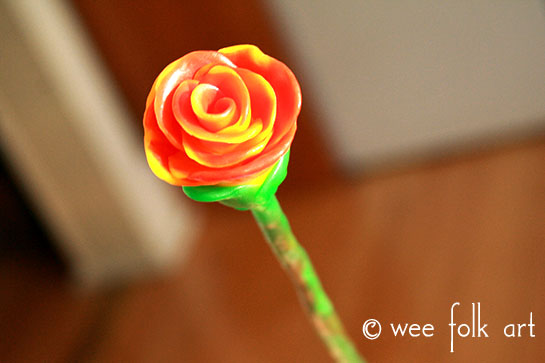
Flower Fairy Wands
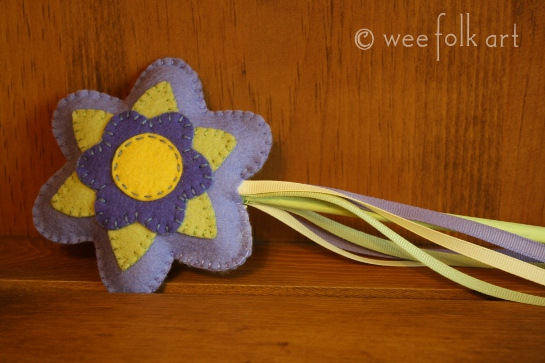
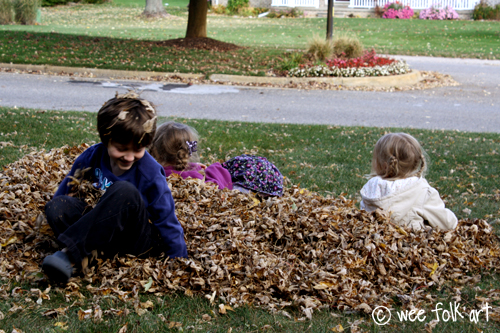
Who can turn flowers into fairies, a dog into a dragon, and a pesky sibling into a troll? Children, of course! With just a flick of their wrist and the help of a magic wand, ANYTHING is possible and probable 🙂 And, if the wand is a beautiful flower, all the better!
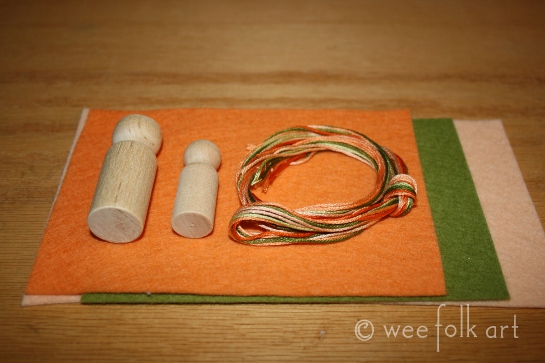
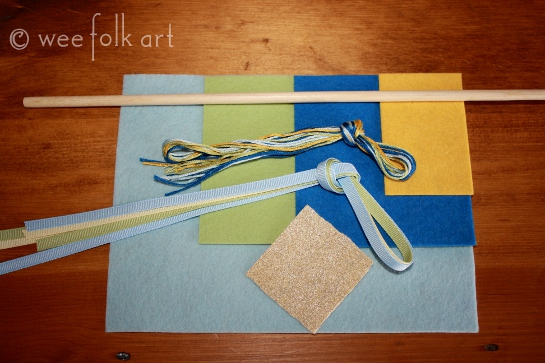
To make your own want you will need:

Materials:
wool felt (a light and dark matching color for the petals, green for the leaves, and yellow for the center)
embroidery floss (colors should match the large petals, the small petals and the leaves)
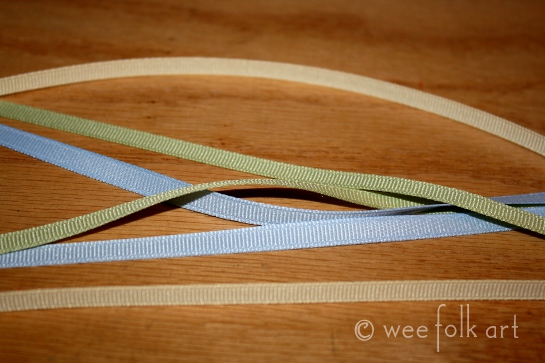
1/4″ grosgrain ribbon in 3 colors each 24″ long (green, yellow and a color to match the outer petal.)
12″ of 1/4″ dowel rod
embroidery needles
crafting glue
paint for dowel rod (optional)
beeswax finish (optional)
stuffing
copy of pattern found HERE
Note: All materials used should be non toxic and child safe.

Directions:
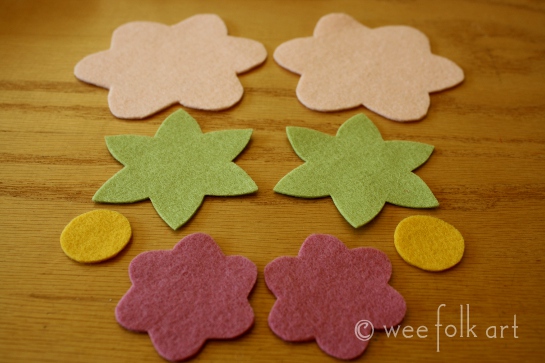
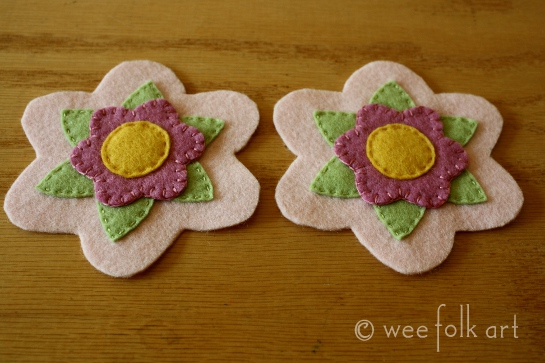
Make a copy of the pattern and cut out felt as follows:
2 large petals (light)
2 small petals (dark)
2 leaves (green)
2 flower centers (yellow)
Note: For tips on cutting out felt click HERE.
Note: For stitch glossary click HERE.
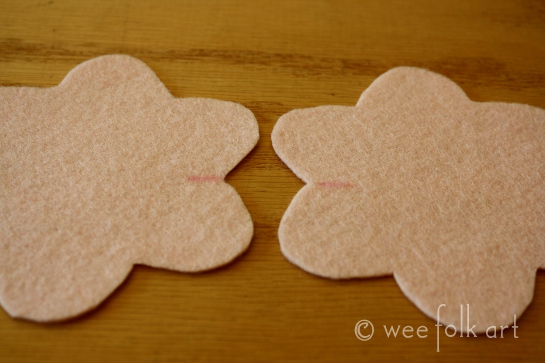
I recommend that you cut out the 2 large petals together. They will be stitched together later and cutting them out together will make for the best fit.
After cutting out the 2 large flowers, carefully open up the flowers so they are a mirror image of one another. Make a mark on the inside between 2 petals on corresponding spots. This is where you will later sew on the ribbons.
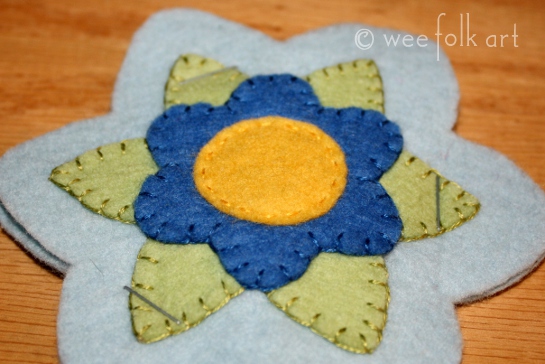
On the front of each (2) large petal(s), applique the remaining pieces to it in the following manner: (Use the pattern as a placement guide.)
Using a running stitch and 2 strands of matching floss, sew leaves to large petal.
Using a blanket stitch and 3 strands of matching floss, sew small petal over leaves.
Using a running stitch and 2 strands of floss that matches the small petals, sew center
to the small petal.
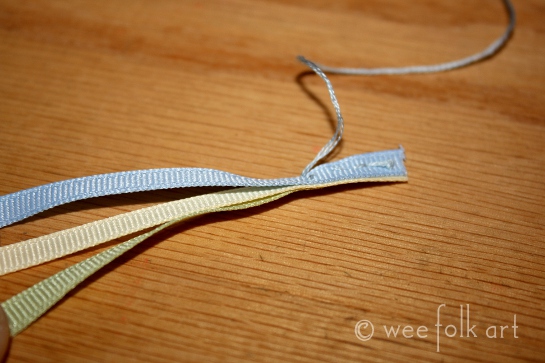
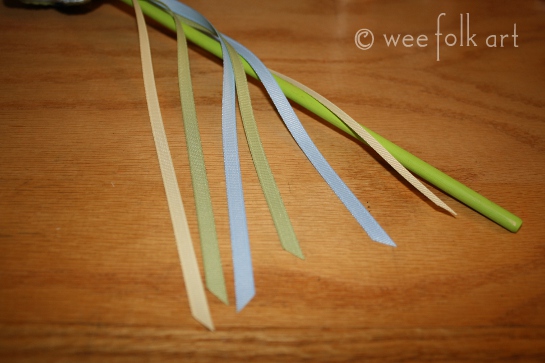
Cut each piece of gross grain ribbon in half so you have 6 pieces 12″ long. Take 3 different colored ribbons and tack them together at one end. Do the same to the remaining 3 ribbons.
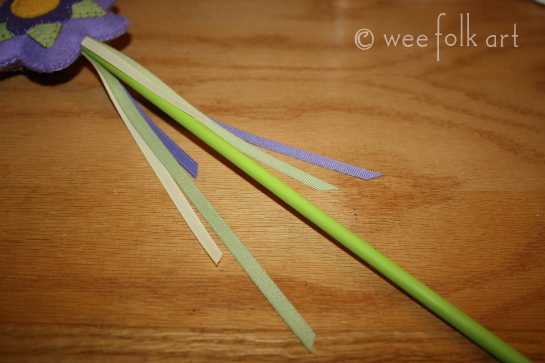
Tack the ribbon clusters to the inside of the 2 flowers on the marks you made earlier. Make sure you do not go all the way through to the front side.

Matching the inner markings and ribbons, with wrong sides together, pin or staple your 2 large petals together.
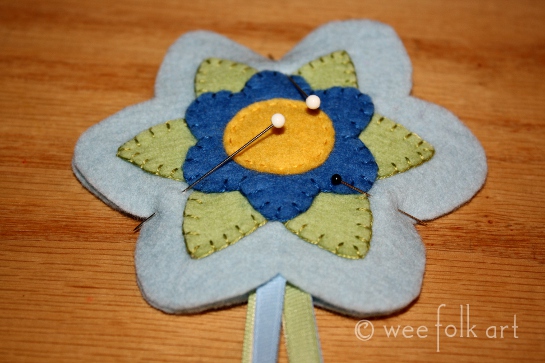
Begin at an inner petal junction. Using a blanket stitch and 3 strands of matching floss, sew the 2 large petals together. Stop at the inner petal junction 1 petal away from the start. Securely tie off the thread, but do not cut. This space will be used for stuffing the flower and inserting the dowel rod.
![]()
![]()
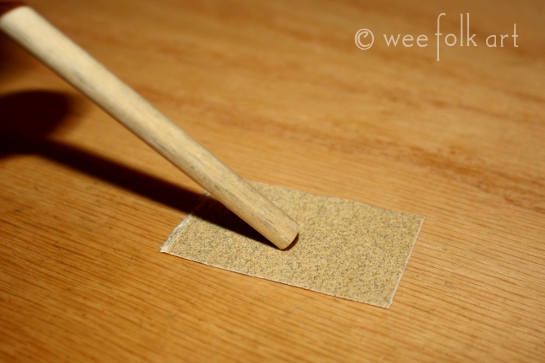
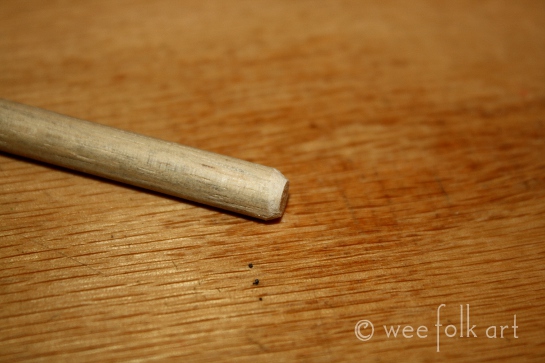
Lightly sand one end of the dowel rod rounding the edges.
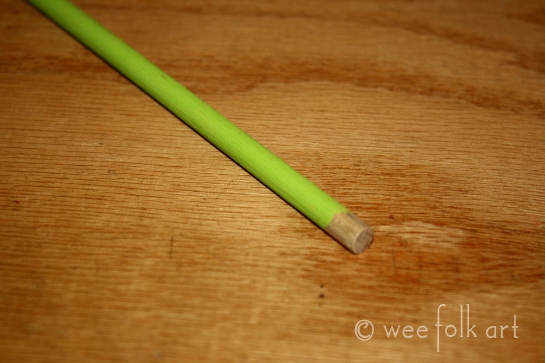
Paint the dowel rod green. NOTE: It is not necessary to paint the dowel, but by painting it green, it looks more like a stem 🙂 If you do not paint the dowel, finish with a Beeswax finish to prevent the wood from drying out.
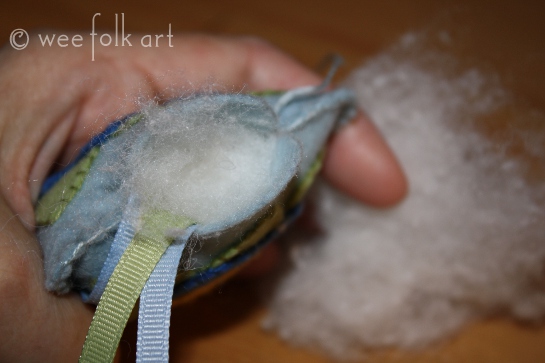
Stuff the flower. Do not overstuff. You want to make it look “puffy” without straining the outer blanket stitch. Note: You will not be able to stuff the unstitched petal until you stitch it together.
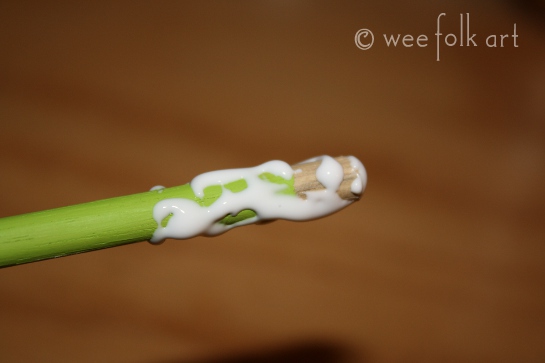
Put crafting glue on the end of the dowel rod that you did not finish. Place glue on 1″ of the rod.
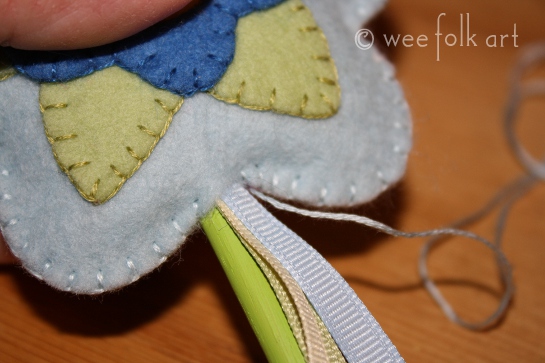
Insert the glued end into the flower, positioning it so the rod will be centered in the beginning inner petal junction.
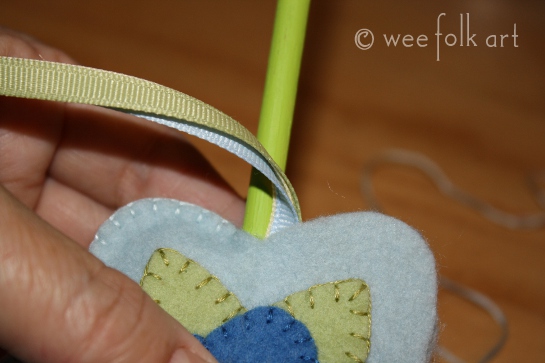
Using a blanket stitch and the attached piece of floss, sew up the remaining petal, stuffing as you go.

You can leave the streamers long and simply trim the ribbon ends on angles or you can cut the ribbons to various lengths.
Copyright © Wee Folk Art 2008 – 2012. All rights reserved.
Patterns may be used for personal use only. If you are interested in obtaining a Cottage Industry License so you can sell items made from our patterns, information can be found HERE.
photos: 12-4-11, 12-11-11, 3-27-12, 4-9-12