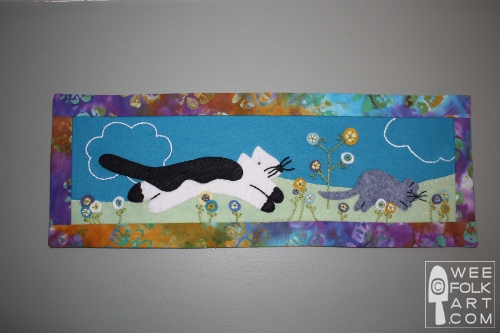
Cat and Mouse Banner
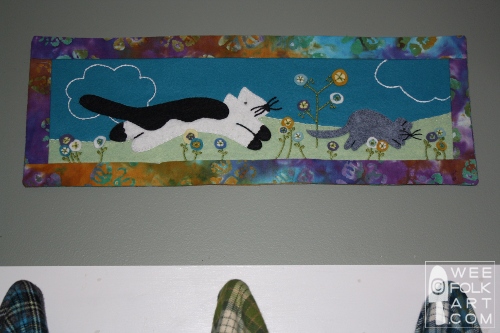
Do you have a wide but shallow spot in your house that needs a little "something"? Try making a long, skinny banner to fill the spot with some playful happiness. For this banner, we combined our Running Kitty and Running Mouse Appliques, but use your imagination and our applique blocks to create your own banner! The finished size of our Cat and Mouse Banner is 20" x 7" but you can adapt the size to fit any space you’d like to fill!
BTW… Directions for the Easy Cotton Shawls pictured above can be found HERE.
(Original blog for the Cat and Mouse Banner can be found HERE.)
Materials:
wool felt piece 6" x 18" for background in blue
wool felt piece 3 1/2" x 18" for grass in green
material for border and backing
felt pieces for appliques
embroidery floss
pattern: running kitty
pattern: running mouse
pattern: flowers and clouds
NOTE: You may notice some discrepancies between directions I am giving and the photos; specifically, when I tell you to applique and embroider . I kept changing the pattern, so the photos don’t always match the directions. (Example, in the photo there are flowers appliqued on the banner before I tell you to do that.) I learned from my mistakes. I really did not want to redo the project to match the directions, so… in this case… do as I say, not as I did 🙂
1] Make copy of patterns.
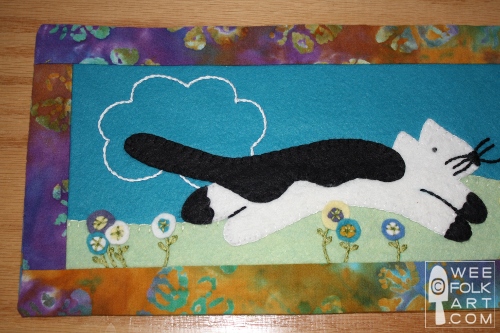
2] Cut out cat and mouse using patterns as a guide. To make the grass, simply draw a wavy line down the length of the 3 1/2" x 18" piece of green wool felt which is being used for the grass, mimicking rolling hills, cut it out along this line. Using 3 strands of floss, blanket stitch the grass to the banner along the wavy hill edge. Sew the grass to the banner along the remaining 3 sides close to the edge using a running stitch. The running stitch will become part of the seam allowance. (Sorry, no photo of the grass by itself, but use this photo for ideas.)

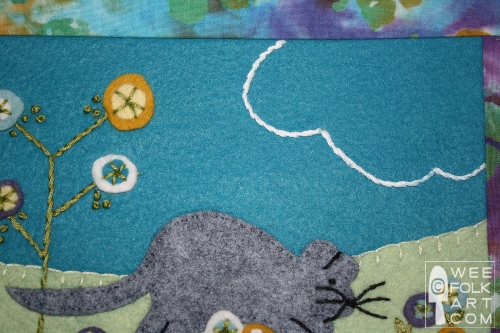
3] Using photos as a guide, position cat and mouse on the 6" x 18" piece of felt. There is no template for the exact positioning of the cat and mouse. There will be 1/2" seam around the entire piece of felt so do not position the cat, mouse or flowers in the seam allowance. Using the patterns as a guide, applique the cat and mouse to the banner. Note: do not add flowers or clouds until the border has been sewn on.) (Sorry, no photo of only the cat, mouse and banner. Use this completed banner for placement ideas.)
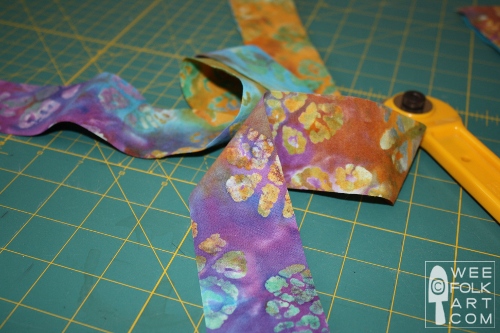
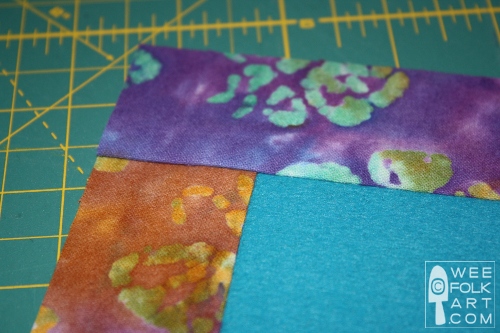
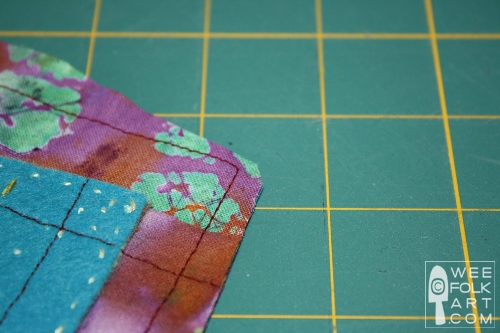
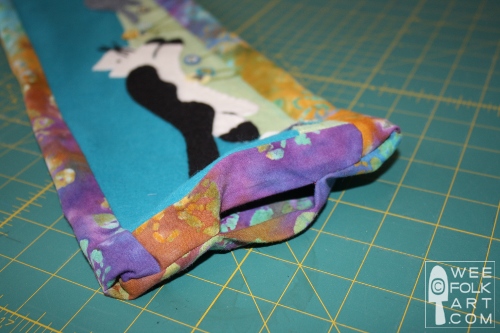
4] To add the border, cut strips of fabric 2" wide. Pin a strip of border to both short ends of the felt banner, with right sides together. Allow the strips to overhang a little. Sew border to banner using a 1/2" seam.

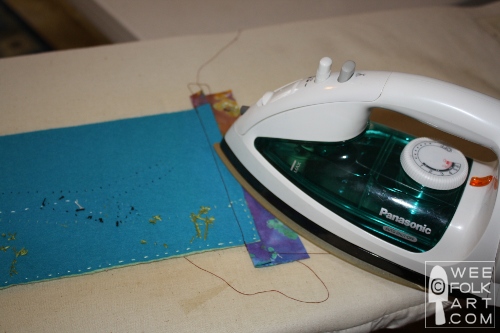
5] Iron the seam flat, with the seam allowance lying on the border, not the felt. (Note: excessive heat can shrink the felt. Try not to overheat the felt.
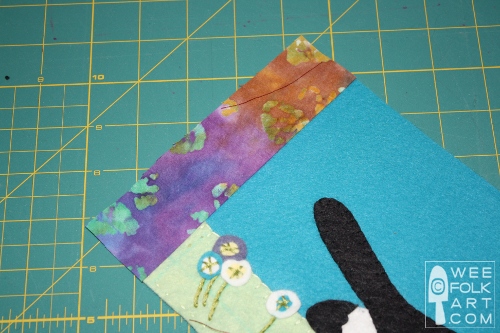
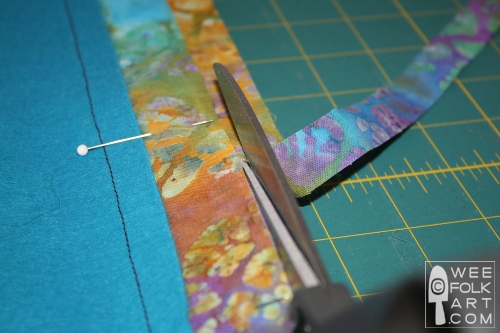
6] Turn the banner over, and using a straight edge, trim the strips so they are even with the upper and lower edge of the banner.
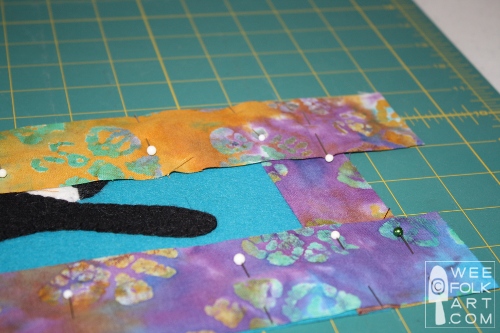
7] Attach the top and bottom borders using the method described above. The strips should over hang the attached side borders.
8] Iron the seam flat, with the seam allowance lying on the border, not the felt.
9] Turn the banner over, and using a straight edge, trim the strips so they are even with the side edge of the banner.
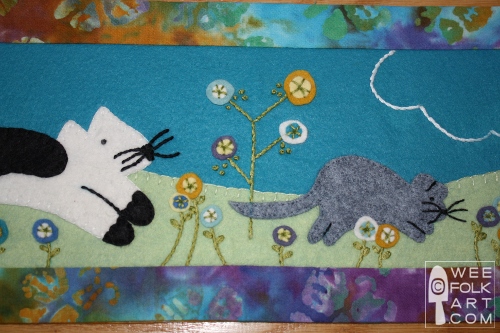
10] Referring to the photos, and using the appliques and embroidery stitches found on the flower and cloud pattern, add flowers and clouds. Note: just use the pattern and photos for suggestions. Be creative and embellish the banner in any manner you find pleasing.
11] To finish the banner, lay the banner on the backing material, with right sides together. Pin the banner to the backing so the backing fabric extends beyond the banner. When placing pins, make sure they do not extend beyond the banner, since you will be cutting along the edge.
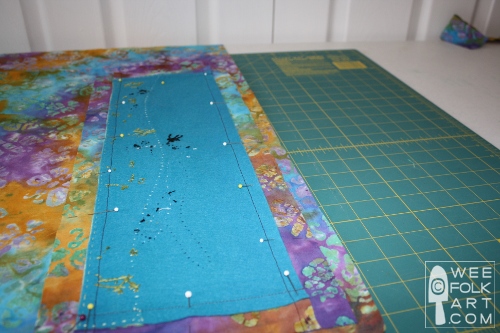
12] Cut the backing using the banner as a guide. Doing it in this matter instead of cutting a banner piece before hand, guarantees the backing is exactly the same size as the banner front. DO NOT remove the pins.
13] Sew the backing to the banner using 1/2" seams, pivoting at the corners. Leave a 3" opening at one of the ends.
14] Trim the corners to remove bulk and turn the banner right side out.
15] Iron the border flat.

16] Slip stitch the opening closed.

17] To hang, pin to the wall using straight pins, concealed on the back of the banner near the top.
OUR "DISCLAIMER"! We are sharing patterns we have designed and made for our own children, families and friends. Every effort is made to share information in a clear and accurate manner. DUH, right? But we are only human, although I often long for superhuman powers, and as humans, mistakes will be made. We offer preemptive apologies for any aforementioned mistakes. Please let us know via comments or emails if you stumble upon a mistake or if you encounter directions that leave you scratching your head! We will rectify the situation as soon as humanly possible! Before beginning any of our patterns, think of yourself as a Beta Tester. We do not have a staff, editors or even volunteers that are crafting our projects before we share them. YOU are the first to have a go at them. As such, other than a heartfelt apology, we accept no responsibility for mistakes made, or in an extreme circumstance, for time or supplies wasted. Please tackle our projects in the same manner that we are sharing them, with a spirit of goodwill and global friendship!
Copyright © Wee Folk Art 2008 – 2010. All rights reserved.
All photos, text and patterns are copyright protected. You may not copy, reproduce or redistribute any material found on WeeFolkArt.com without written permission. Wee Folk Art retains all rights.