-
Easter Egg Window Art
After our crazy winter, it might seem hard to believe that Spring is just around the corner, but it is! We also have an early Easter this year. If you haven’t started any spring crafts…
-
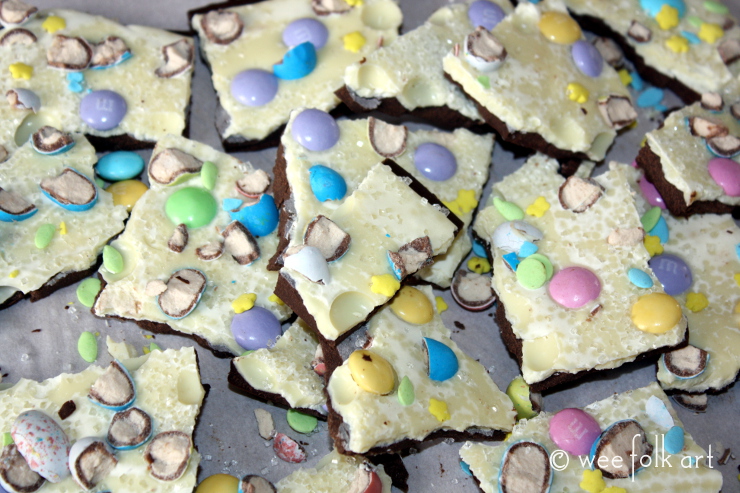
Easter Bunny Bark via Sally’s Baking Addiction
Even if you don’t have a white thumb… the baking counterpart to a gardener’s green thumb… you can still make something delicious to bring with you to this year’s Easter celebration! Easter Bunny Bark is a…
-
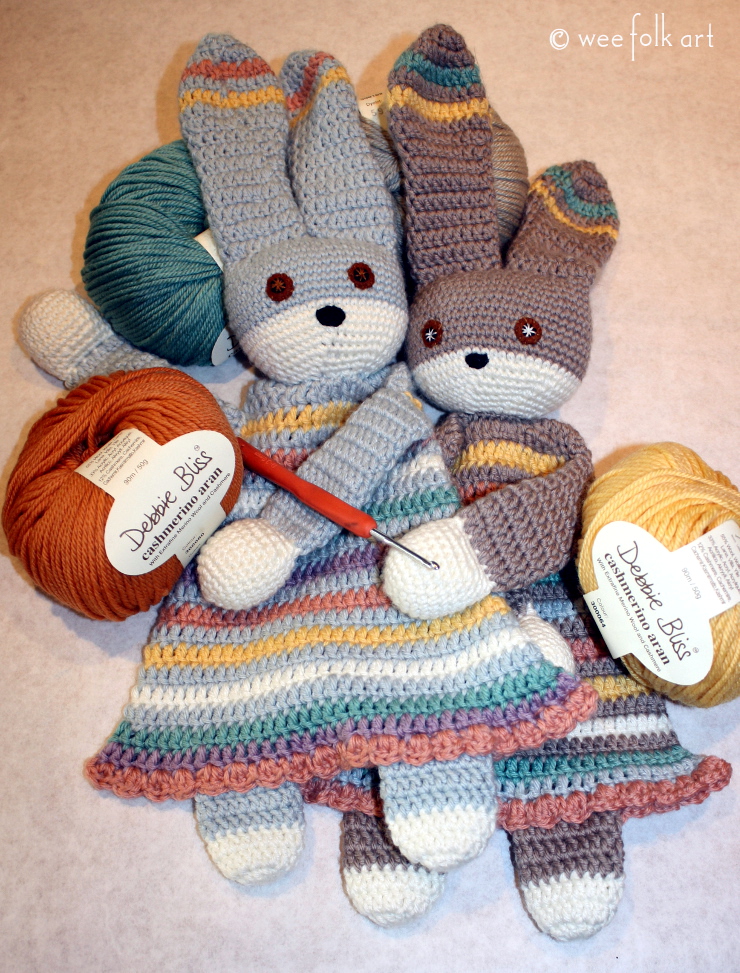
Two Wrongs Make a Right for these Crocheted Bunnies
There is an old adage… “Two wrongs don’t make a right”… but in this case, strangely they do! I tend to tell people that I do not crochet. The truth is, I can crochet, it’s just…
-
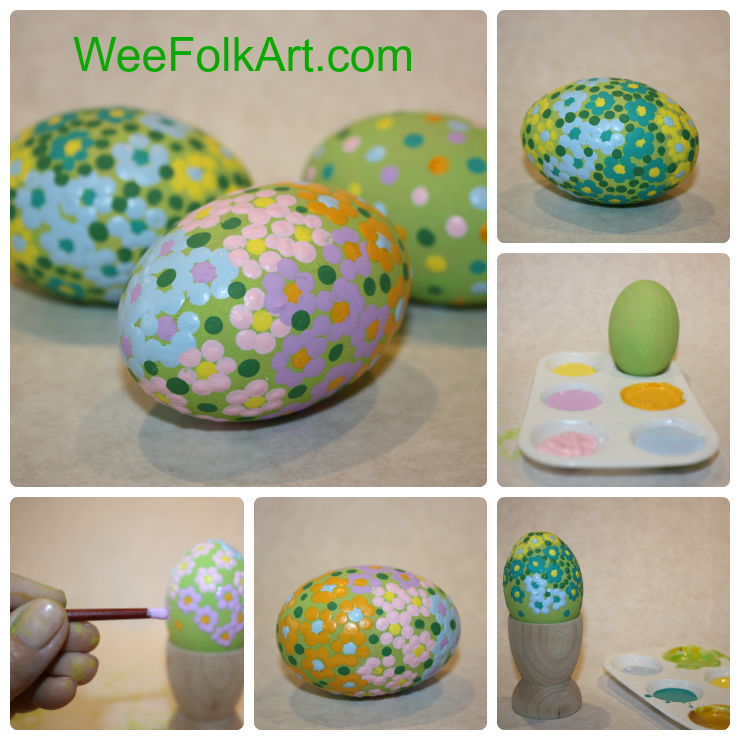
Dot Painting on Wooden Eggs Tutorial
Just imagine a basket full of these “country garden” dot painting on wooden eggs. Easy to do with fun results. Paint one or an entire basket full! Same eggs with extra dots added after I…
-
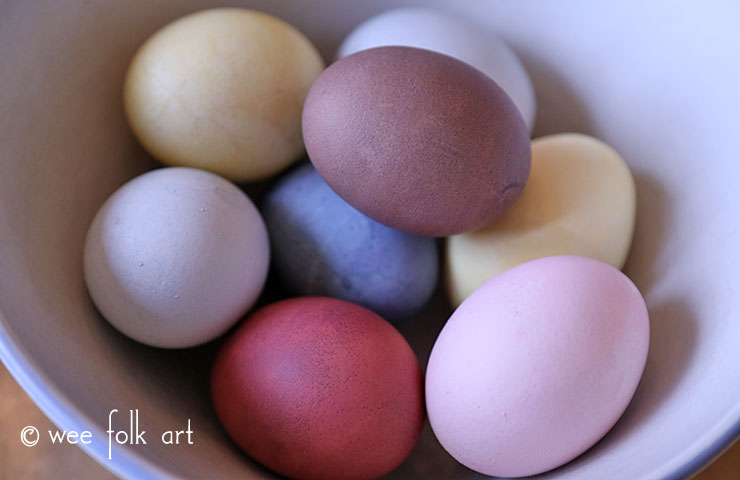
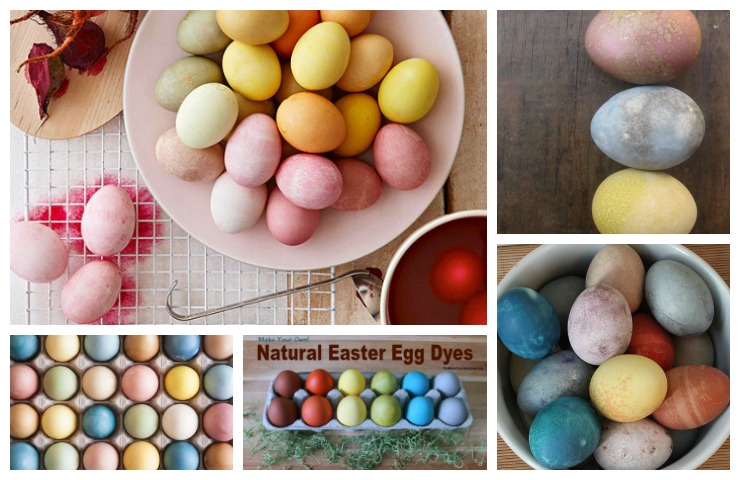
Natural Easter Egg Dyes
So we finally did it. This year we made our own natural Easter egg dyes using a variety of food items. The results were fine if I were doing the eggs myself, but my kids…
-
Natural Easter Egg Dye Recipes Showcase
For the last several years I have wanted to make our own natural Easter egg dyes. Every year we seem to run out of time before Easter and end up doing a quick round of…
-
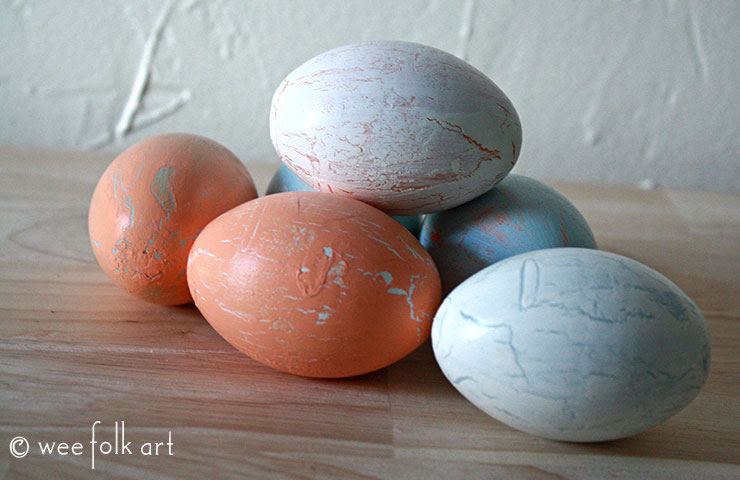
Crackle Eggs Tutorial
Give your eggs a nice, aged looked with our crackle eggs tutorial. Learn how to paint and apply crackle to create small or large cracks in your eggs. With the first day of Spring just…
-
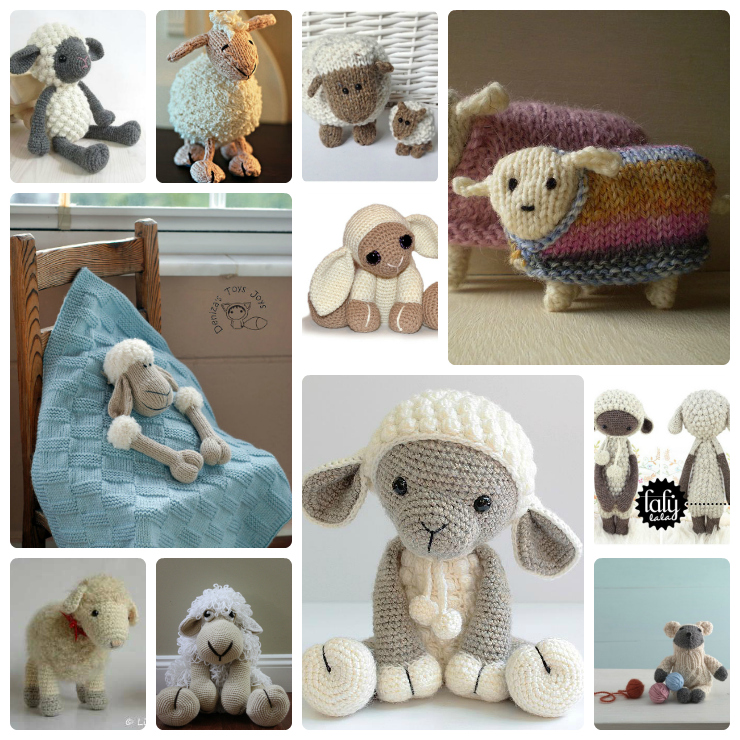
Sheep Knit and Crochet Patterns
If you plan to knit or crochet gifts for Easter… yep… I said Easter… it really isn’t too early to start planning. There are a handful of animals that make us of think of Easter…
-
Wooden Bead Caterpillar
One of the projects in our Coming Soon updated Spring Bs unit is this super easy to make Wooden Beaded Caterpillar. If you are following the current online curriculum, the Wooden Bead Caterpillar would take…
-
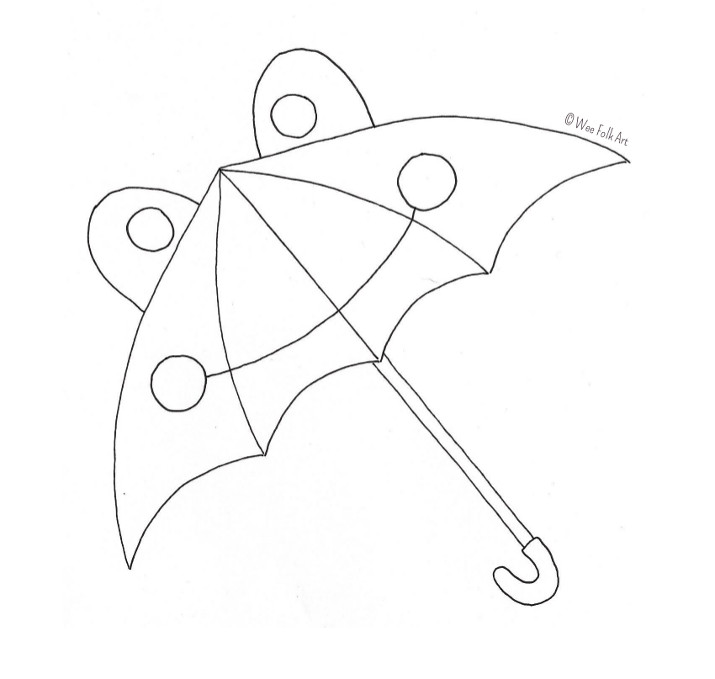
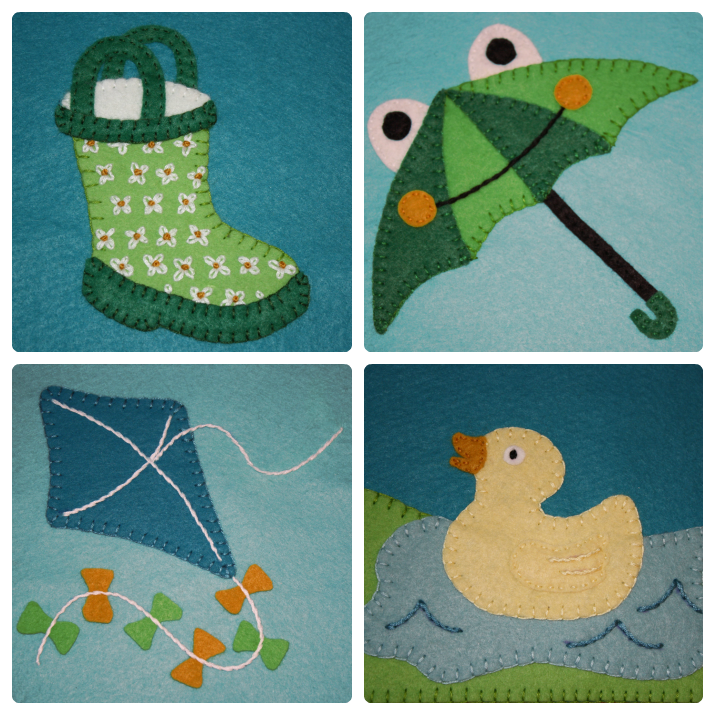
Froggie Umbrella Coloring Page
UNDER MY UMBRELLA – Kimara Wise While sleep still held me in its arms, Safe and sound, far from harm, A raging tempest shook the eaves, It tumbled branches, scattered leaves. By time I woke from…
-
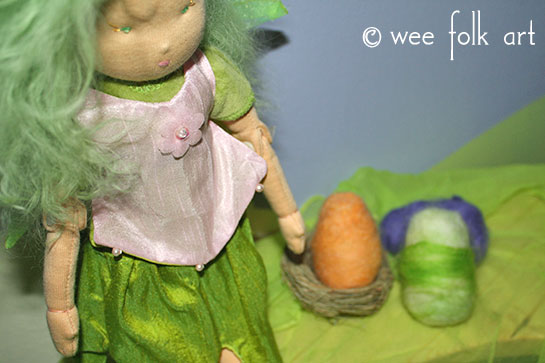
Wet Felted Colorful Wool Easter Eggs
These soft and colorful wet felted eggs make a lovely addition to any spring nature table or Easter display. They look enchanting in Pixie’s fairy home and her spring fairy, Ivy, is delighted with…
-
Rain Boots Coloring Page
THE RAINY DAY – Henry Wadsworth Longfellow The day is cold, and dark, and dreary; It rains, and the wind is never weary; The vine still clings to the moldering wall, But at every gust…
-
10 Awesome Flower Pots to Make
INDIVIDUAL SOURCES FOUND IN THE POST HAPPY FIRST DAY OF SPRING! Come on, jump up, and start running around yelling “It’s Spring, It’s Spring, It’s Spring.” Extra points if you wave your hands over your…
-
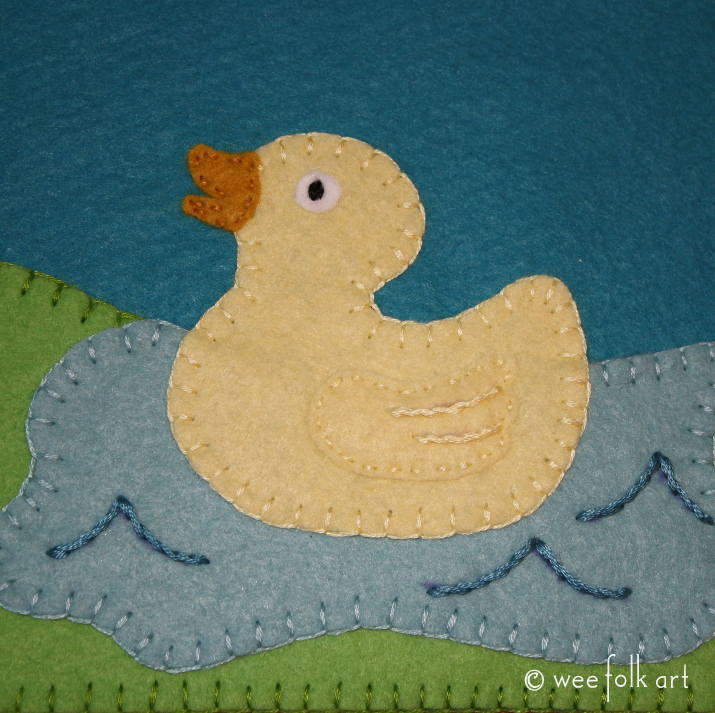
Pond Duckie Applique
We are blessed to live in an area that has a million… perhaps a wee bit of an exaggeration… lakes and ponds. Also, we live in an area that has 4 very distinct seasons. And,…
-
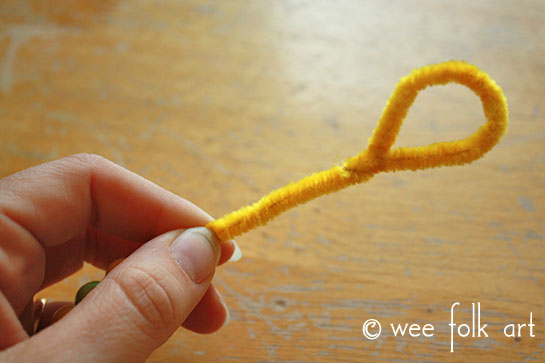
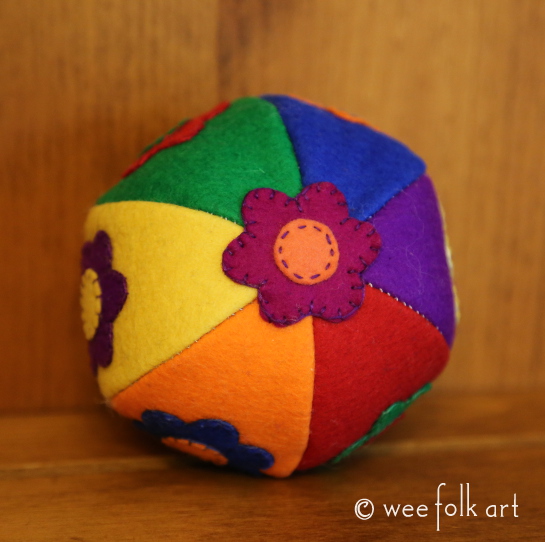
Toys to Make for Baby’s Easter Basket
FREE PATTERNS from Wee Folk Art Although there is a virtual cornucopia of free patterns on Wee Folk Art that would be perfect to make and tuck into baby’s Easter basket, we picked out a few…
-
March Appliques
When I was a child, we lived just shy of a mile away from school. Children that lived farther than a mile took a bus, but we walked to and from school every day. Of…
-
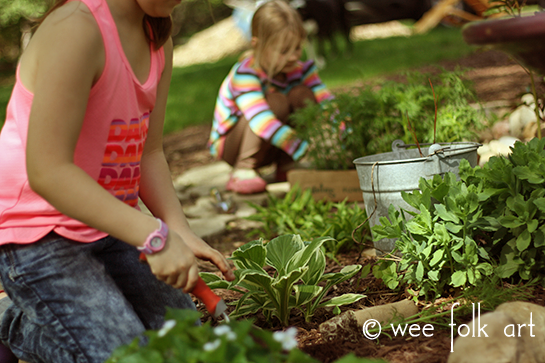
Planting Cosmos
Have you ever noticed, how at the beginning of spring, everyone is so anxious to get into the gardens? Later, as long summer days bake the ground, and the parched Earth cries out for a…
-
Wooden Flowers Made From Drawer Pulls
Has Spring sprung in your wee world? It has in The Thicket, and there are now all sorts of flowers and plants hither and yon. An easy way to add some flora to your wee…
-
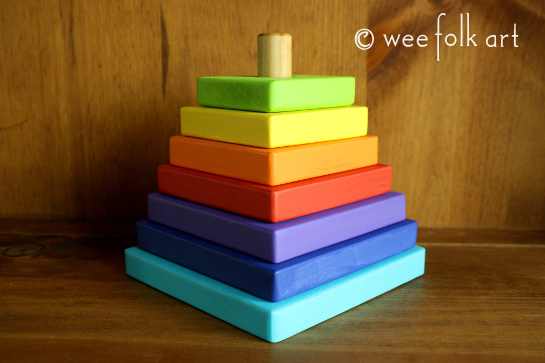
Wooden Flower Stacker
Several weeks ago we shared a tutorial for a SQUARE WOODEN STACKER. If you have never worked with wood before, the Square Wooden Stacker was a great project to cut your teeth on. I have…
-
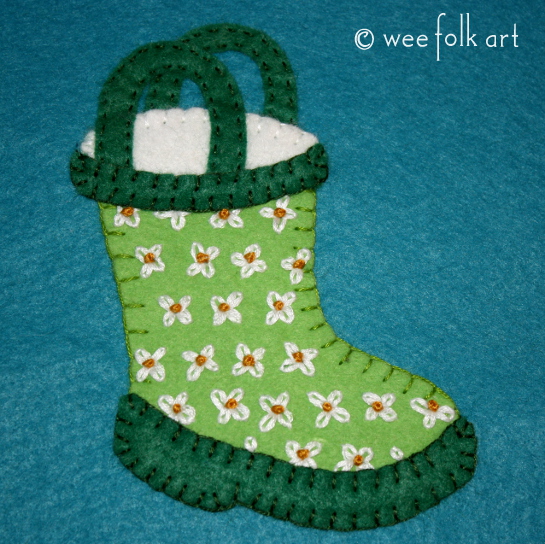
Rain Boot Applique Block
Statement: My floors are covered in mud. Period. End of story. As the near spring thaw begins to turn portions of our yard into a gooey brown viscous substance, my dogs joyously, nay, exuberantly, prance,…
-
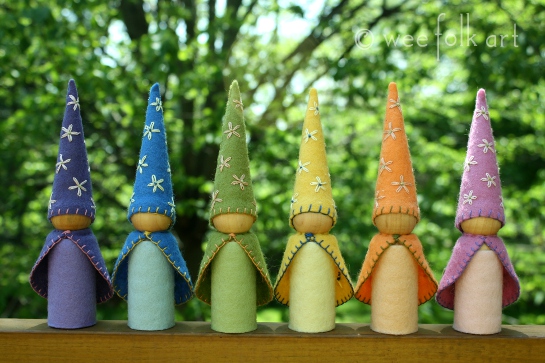
Spring Inspired Large Peg Gnome Doll Pattern
Here is a collection of spring inspired Large Peg Gnome Doll pattern. Enjoy making our Big Gnomes for Wee Hands. When is the right time to bring fanciful gnomes into your child’s life? As soon…
-
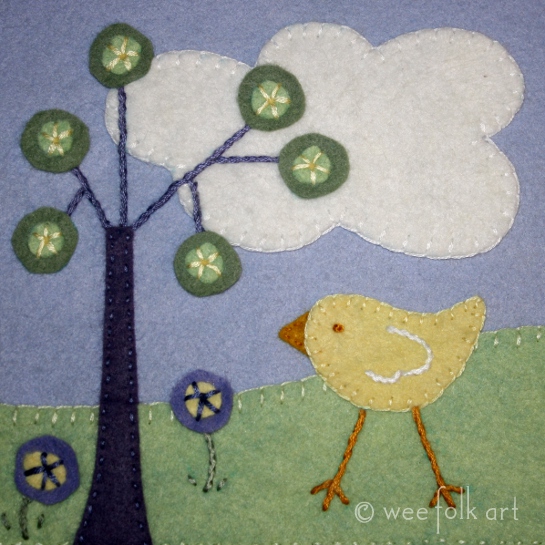
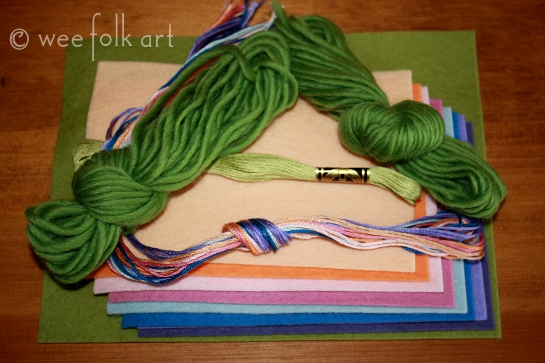
Bitty Birdie Applique Block
Spring has sprung! The trees are flowering, and the baby birds are bouncing around the yard looking for yummies! Just imagine the fun you can have with this little “FunScape” applique. Designed to fit a 6″ x 6″ block, it can be reduced or enlarged to meet…
-
Spring Flower Garland
The daffodils in our yard are just poking their heads through the ground, but I was aching for some flowers, NOW, so I decided to make my own. You can make a garland or 2…
-
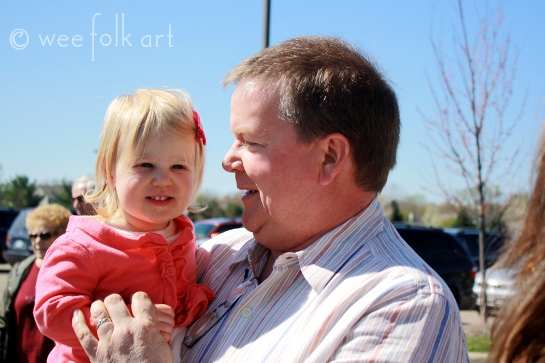
Happy Easter!
I don’t often do this… simply share photos for the sake of showing off my grandbabies. But, I had all 4 of them with me yesterday… so indulge my Gammy moment 😉 Yesterday was the annual Easter Egg Hunt…

Patterns & Crafts